


3D Understanding printing costs: Why your part costs so much - and how you can save
"Why does my 3D print cost so much?" - the question almost always comes up, if a model is complex or requires a lot of material. The good news is that in many cases you can reduce the price significantly, without your part getting worse.
In this guide, I will show you the wichtigsten pricefaktoren (material/volume, printing time, support, post-processing, file errors) and the best saving tips. If you want to know directly what your part costs: upload it and have it analyzed automatically.
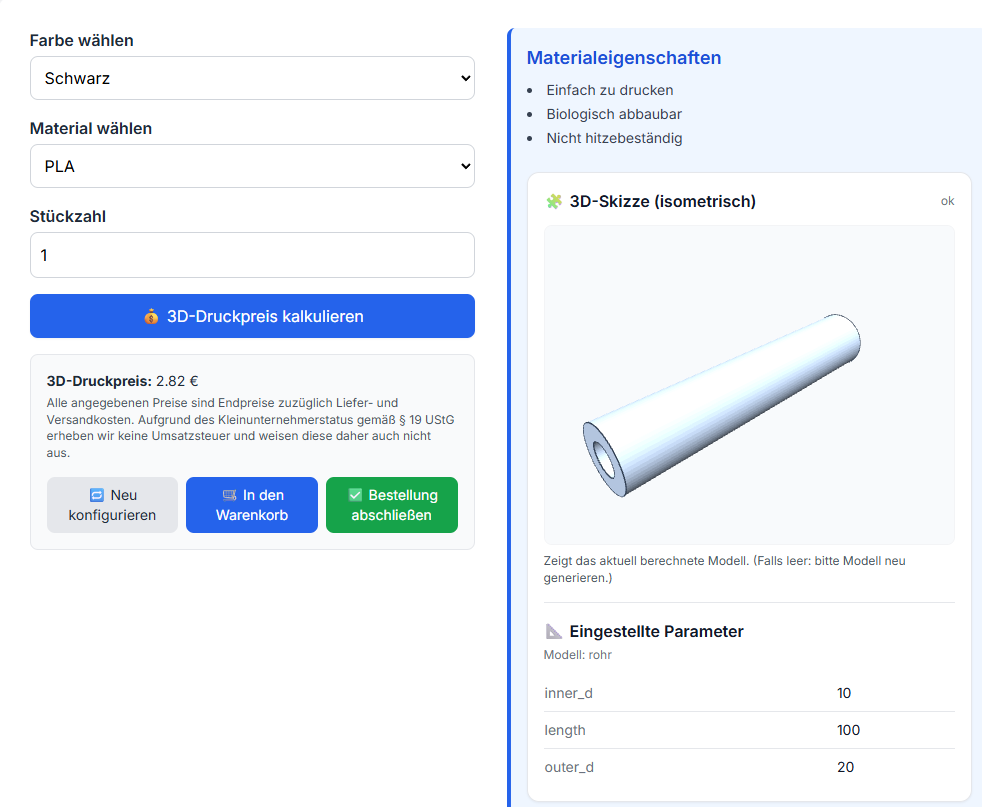
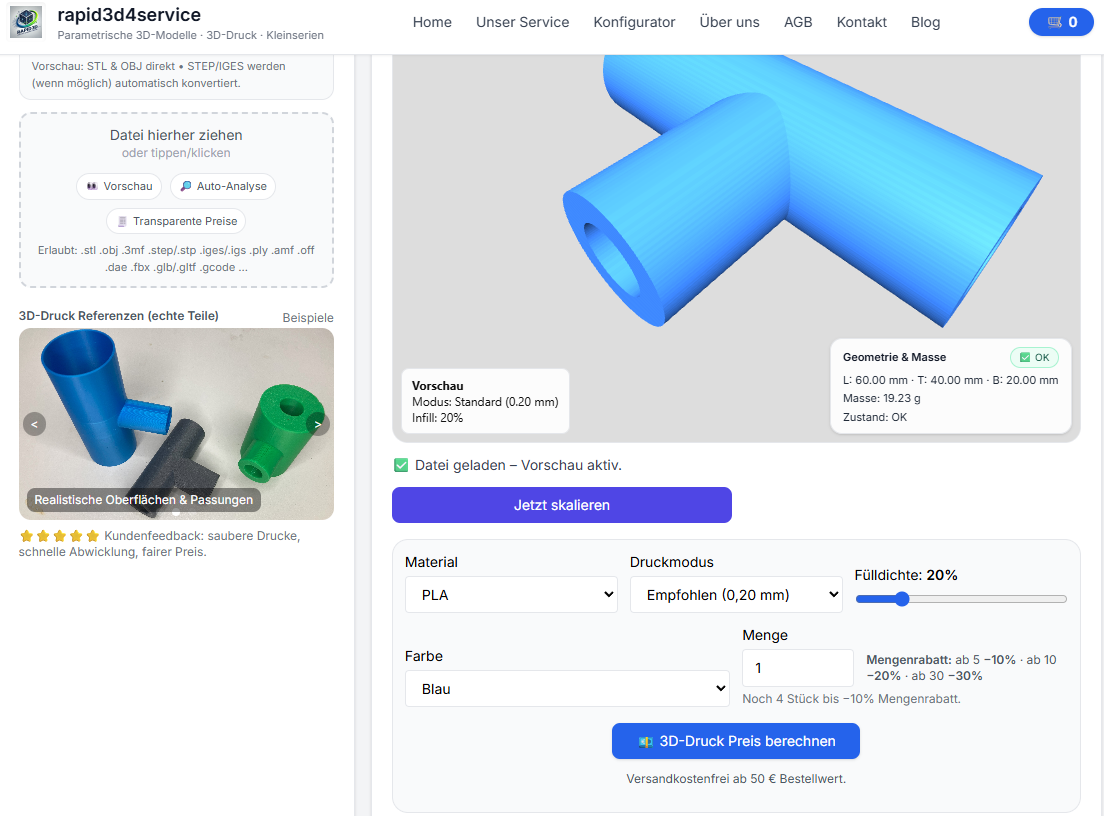
- The 3D printing price formula in 60 seconds
- costsfaktor 1: material (volume/Gewicht)
- costsfaktor 2: printzeit
- costsfaktor 3: support & Geometrie
- Cost factor 4: finishing and quality
- Cost factor 5: file errors (open, non-manifold or non-watertight geometry)
- 10 Spartipps (without Qualitätsverlust)
- FAQ
The 3D printing price formula in 60 seconds
Price ≈ material cost + machine time + work (supports/finishing) + risk/inspection
Meaning: A small part can be expensive if it takes a long time to print or needs a lot of support. A large part can be favorable if it is hollow and runs fast.
costsfaktor 1: material (volume & Gewicht)
The most important point: volume. The more material there is in the part, the higher the costs. But: Volume is not just "size", but also wall thickness, solid areas, infill and support.
- Massive prints more expensive than hollow (if the application allows it).
- thickness Wände increase volume and printing time.
- Support material always counts, even if you remove it later.
Cost factor 2: printing time, the hidden price driver
Printing time is often more expensive than expected. Reasons: many small details, high components, fine layer height, many perimeters. The longer the machine is blocked, the higher the costs.
- tall parts (many layers)
- very fine layer height (e.g. 0.12 mm instead of 0.2 mm)
- many outer walls/perimeter
- smalle Radien / komplexe Konturen
costsfaktor 3: support & Geometrie
Support is expensive because it Material + time + finishing increased. Many models can be printed much more cheaply through orientation or small changes.
| Geometry | Problem | Better solution |
|---|---|---|
| Large overhangs | Viel support nötig | part drehen / Überhang reyouzieren / in 2 parte splitten |
| Internal "caves" | Supports are difficult to remove | Add an opening/drain or change the design |
| Thin, long webs | Vibrationen, langsamer print | Reinforcements/Ribs |
Cost factor 4: finishing and quality requirements
Depending on the part, reworking may be necessary: removing support, smoothing edges, reworking drill holes, improving the appearance of the surface. a "functional part" is often cheaper than a "showpiece with a perfect surface".
- Higher visual requirements = more work
- fits/boreen brauchen manchmal Nacharbeit
- Choice of material influences surface and stability
Cost factor 5: file errors (open, non-manifold or non-watertight geometry)
An underestimated price driver are faulty 3D files. If an STL not closed volume can be calculated incorrectly, Support can explode - or printing can fail. A proper analysis saves money and nerves.
- STL open / not watertight
- Holes / open edges
- Non-Manifold Geometry
- Scaling incorrect (mm vs inch)
👉 Upload + analysis show you the condition immediately - and you can have the file repaired.
10 Spartipps (without Qualitätsverlust)
- support vermeiden: Orient the model to reduce overhangs.
- Hollow instead of solid: if the part will not carry extreme loads.
- Wall thickness makes sense: do not "oversize" - rather ribs than solid.
- Check details: tiny radii/ornaments cost time.
- boreen richtig planen: slightly larger if needed to reduce finishing work.
- part splitten: two inexpensive prints instead of one part requiring excessive supports.
- Choose an appropriate material: PLA for prototypes, PETG for functional parts, ASA for outdoor use: avoid unnecessary overspecification.
- Check scaling: Millimetres versus inches: incorrect size means an incorrect price.
- STL repair: watertight machen, bevor kalkuliert/printed wed.
- Calculate in advance: upload/analyze first, then decide.
Conclusion: the price can almost always be influenced
3D Printing costs are no secret: volume, printing time, support and file condition make the difference. If you analyze your model properly once, you can often make significant savings - without making your part worse.
FAQ
Can a small part be expensive?
Yes - if it prints very long (many details, many layers) or needs a lot of support. Size alone does not determine the price.
Why is an open STL problematic for the price?
If the model is not watertight, volume may be calculated incorrectly, and the slicer sometimes generates unnecessary support or faulty walls. Diagnosis/repair makes the calculation more reliable.
How starte ich am faststen?
Upload your model, check volume/status and see the price - then you can decide, whether you customize geometry/orientation/material.
Also wanted
3D print cost, 3D print price calculation, 3D print price, 3D print cost per part, 3D print calculation, Calculate printing time, STL calculate volume, reduce support, infill, wall thickness, 3D repair model, STL not watertight, 3D printing, 3D printing service.