Custom headshell gasket-to-stylus distance gauge

Workshop & tools

Custom headshell gasket-to-stylus distance gauge

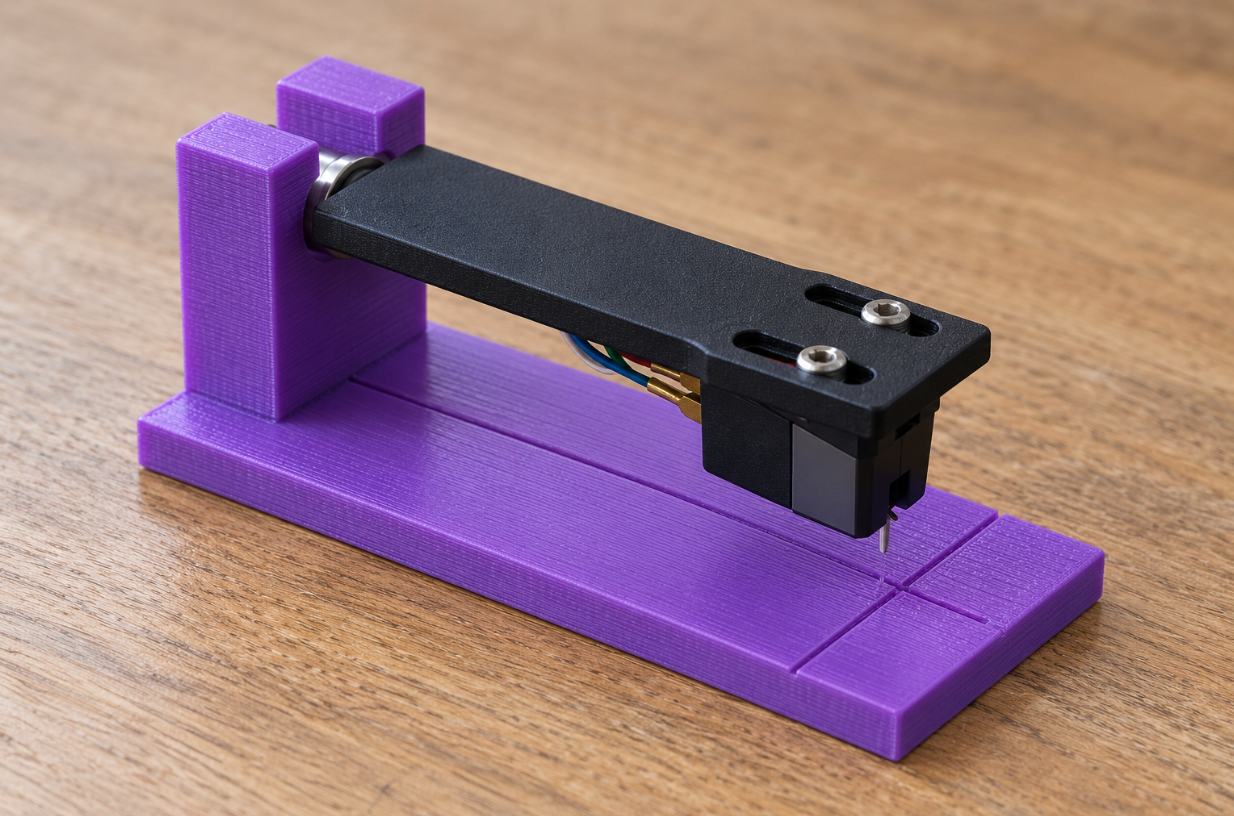
Set cartridge position to your manual’s specification: customise the distance from headshell gasket to stylus tip, with an open cradle and visual mark.

0 Likes
★★★★★
0.0/5 · 0 Ratings

STL file: Price currently unavailable.

Finished 3D print: calculate the price after creating your model.

parameters
9 adjustable
Variants
0 ideas
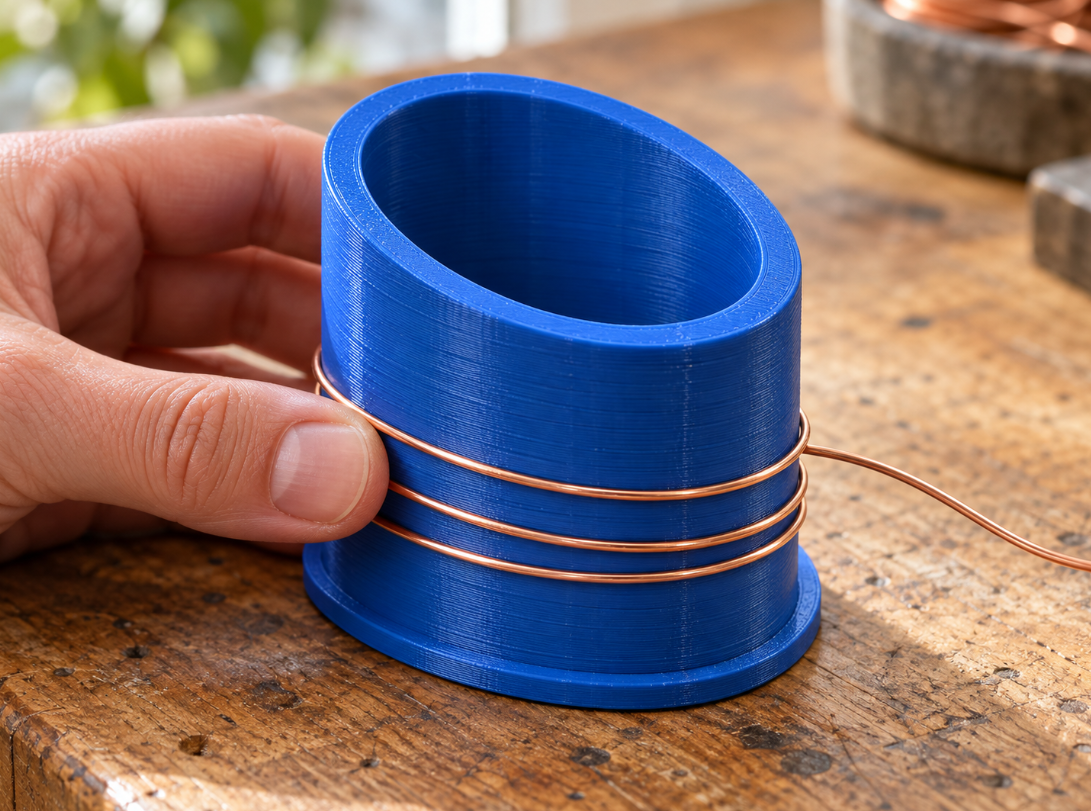
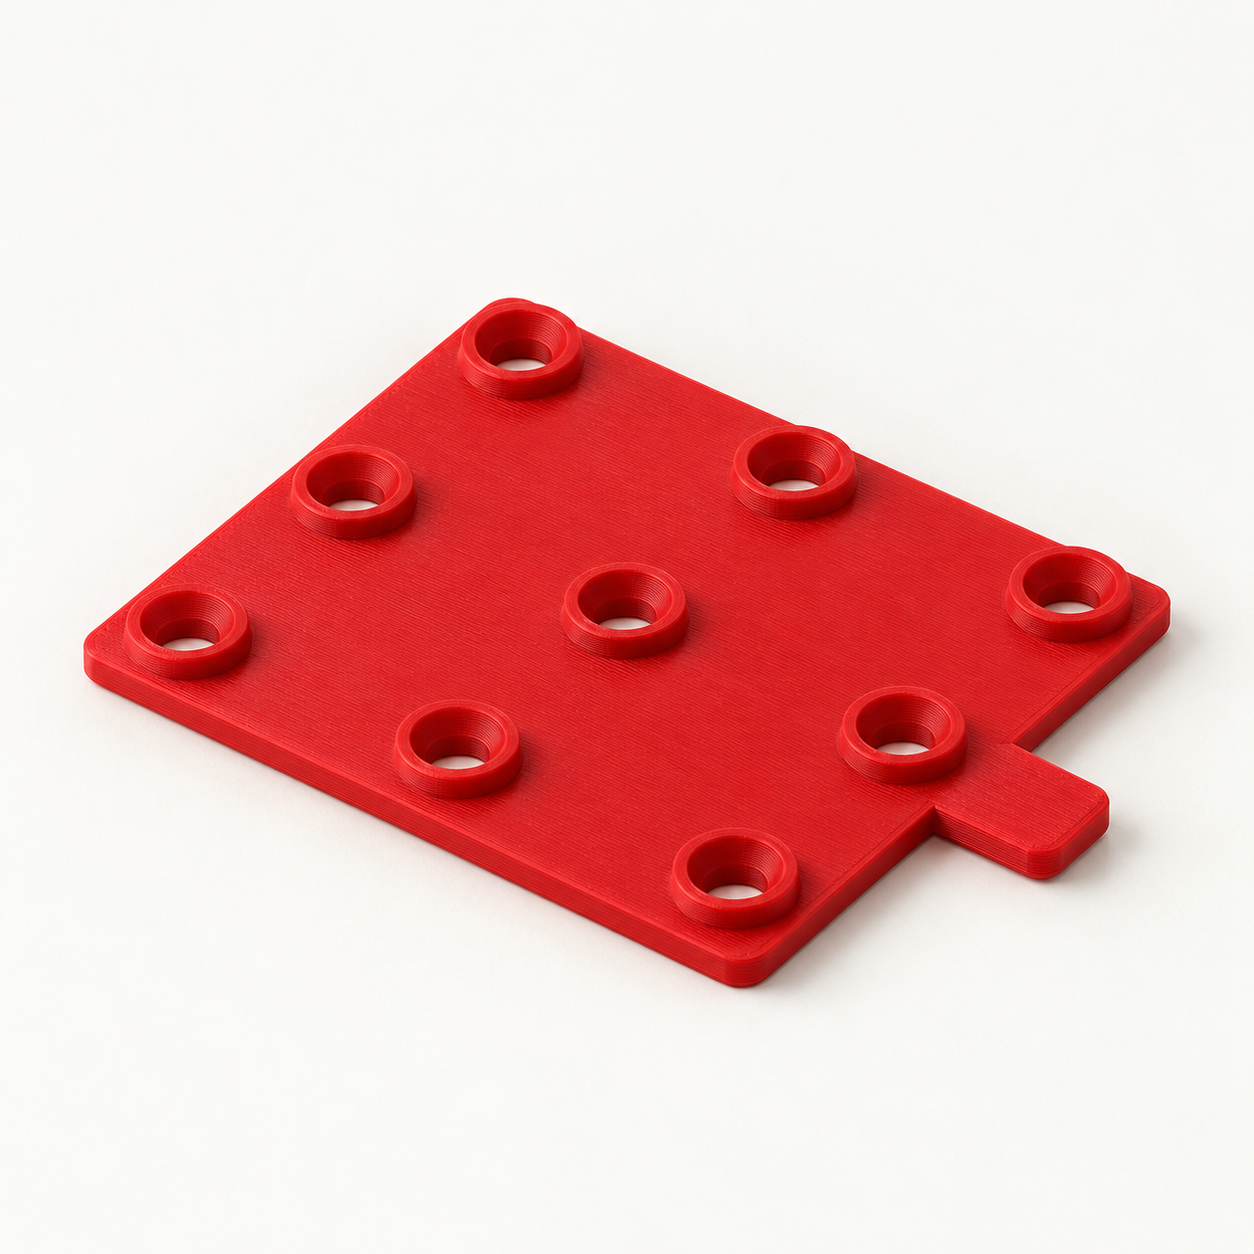
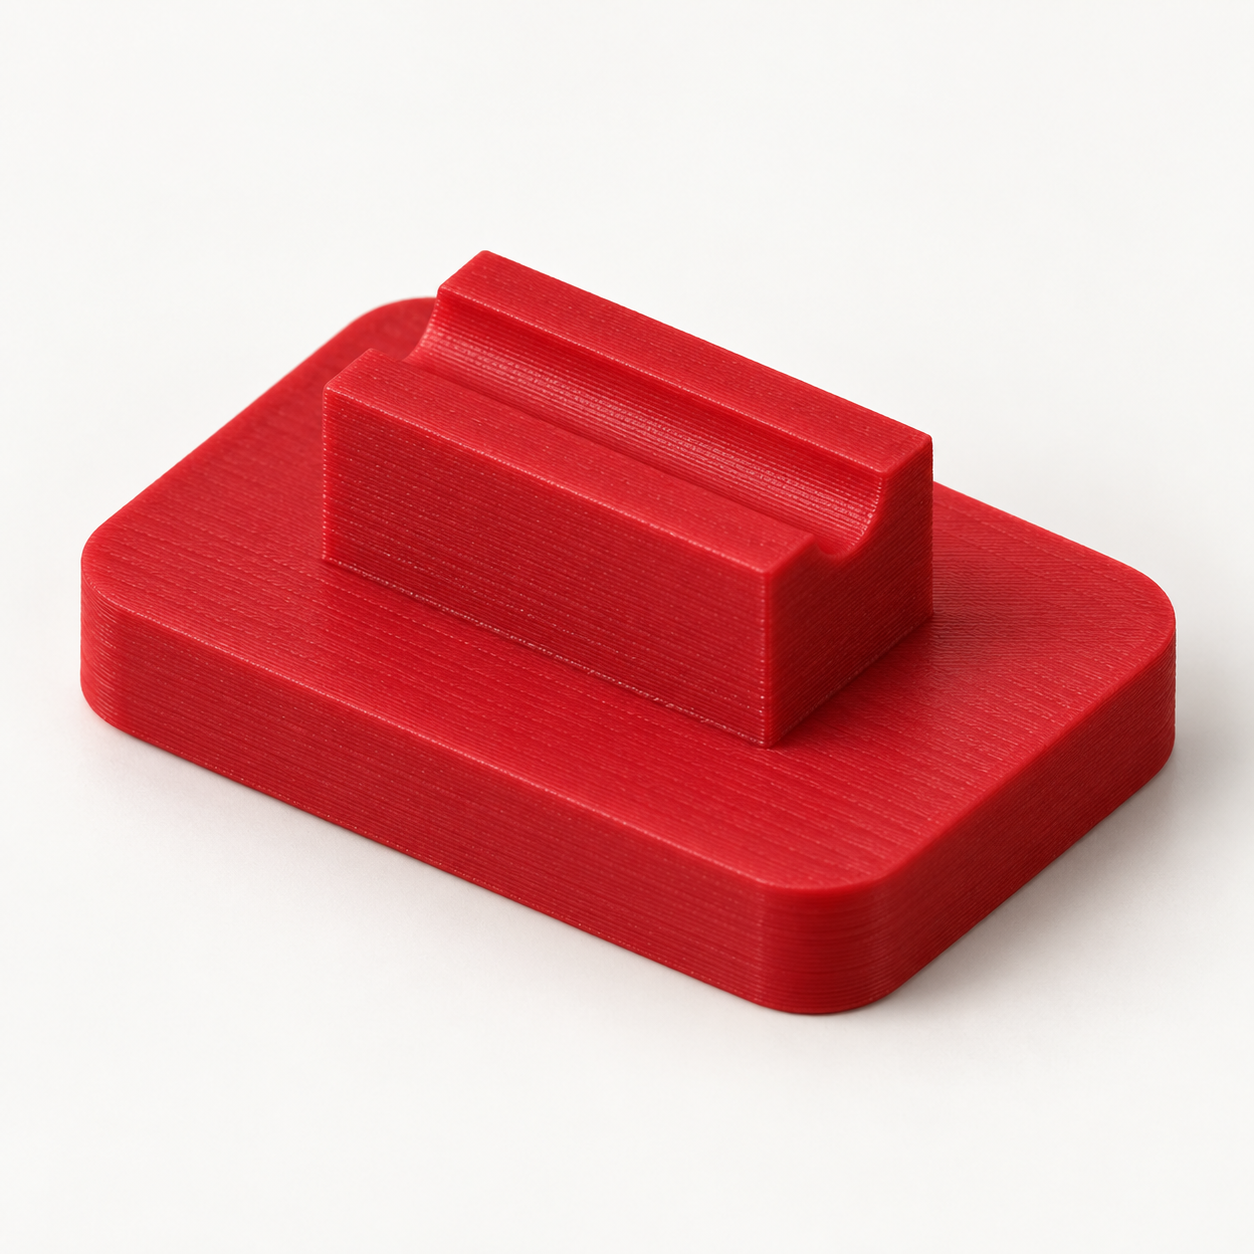
The open gauge supports the round connector of a detached headshell. Its front stop face references the gasket, and a cross marks the required longitudinal distance to the stylus tip. The stylus stays clear above the base. What you can customise: Adjustable: Stop face to stylus reference line. Adjustable: Clear cylindrical connector diameter. Adjustable: Axial cradle length. How to measure: 1. Find the exact gasket-face-to-stylus distance in your turntable manual. 2. Measure connector diameter and axis height to keep cartridge and stylus clear above the base. 3. This is not tonearm overhang relative to the spindle; 52 mm is not universal. Assembly and trial fitting: 1. Print and verify stop-face-to-cross distance with an independent measuring tool. 2. Hold the detached headshell level, gently placing its gasket against the stop. 3. View the stylus position perpendicular to the cross; check parallelism and other setup separately per the manual. 3D printing notes: PETG or PLA on its base, 0.16–0.2 mm layers. Check stop and mark accuracy and a level footprint. Fit and included geometry: One length reference only, not complete cartridge alignment. The open cradle does not clamp the headshell. Never rest the stylus on plastic; no sound-quality promise.

FAQ

Frequently asked questions

What is Configurable 3D component intended for?

Configurable 3D component is a configurable model in the Werkzeug category. When an off-the-shelf part does not fit, configure this parametric configurable 3d component for your project: adjust the dimensions, check the preview, download the STL or order the 3D… It is suitable as a starting point for 3D printing or technical review.

Which dimensions can I adjust for Configurable 3D component?

The available input fields define the dimensions of the generated model, for example Specific dimension, Length, Height, Wall thickness, Width. Please check the preview and the displayed overall dimensions before ordering.

Is the STL generated from my inputs?

Yes. The STL is generated from the entered parameters and prepared for download or email delivery after payment.

Can I open the STL in Bambu Studio, Cura or PrusaSlicer?

The generated STL is suitable as a starting point for common slicers. Please review orientation, scale, material and print settings in your slicer software.

Do I need to check dimensions and tolerances before buying?

Yes, please check dimensions before ordering. Fit, strength and tolerances depend on material and print settings; the preview and overall dimensions help with verification.

Which material is suitable for Configurable 3D component?

PLA is useful for samples and simple parts, PETG for tougher applications and ASA for outdoor or higher-temperature use. Load, tolerance and print orientation matter.

Can I download Configurable 3D component as an STL or order it printed?

Yes. After configuration you can use the generated model for STL download or continue to the 3D printing order flow with price calculation.

What are typical uses for Configurable 3D component?

Typical uses include custom dimensions, repairs, prototypes and mounting aids in the Werkzeug category. For functional parts, always verify load and fit in the final application.

Ratings

What andere sagen

★★★★★
0.0/5 · 0 Ratings

Submit rating

Please enter your name, email address, star rating and comment.

Used only to prevent spam; stored as a hash.

★★★★★

Up to 5 images, JPG/PNG/WebP, maximum 5 MB per image.

Latest reviews

No reviews yet — be the first 🙂

Minimum order value not yet reached

Physical 3D prints require a minimum order value of €10.00. You still need . Digital STL files and shipping costs do not count toward the minimum order value.

You can select more products or increase the quantity of an existing 3D print.

Photo to 3D

What would you like to create? Choose an option – you will upload your source on the next page.

Example of a 3D relief created from a photo Photo to ReliefTurn your photo into a tactile 3D relief.Proven relief configurator · STL or printed partStart now → Example of a personalized 3D figurine created from a photo Photo to FigurineTurn your photo into a personalized 3D figurine with individual shape and color.Turntable preview · print or digital STLStart now → Floor plan and the spatial 3D model created from it Floor Plan to 3DTurn your floor plan into a spatial 3D model with detected walls and openings.Review preview · confirm recognition and assumptionsStart now → Technical drawing and the 3D part created from it Drawing to 3DCreate a printable 3D model from a technical drawing when geometry and dimensions can be identified clearly.Review preview · verify dimensions and viewsStart now →