

Boxes, lids and caps: get a perfect fit without sanding
The classic: box looks good - but the lid is stuck (or wobbles). The solution is not sanding, but Inner dimension + clearance + lip. Here you will find simple starting values and specific examples from our portfolio.

The 4 rules for lids that fit
- Plan internal dimensions: Part dimension + clearance (allow for cables/connectors!)
- Define game: Start value mostly +0.3 to +0.8 mm (je nach print)
- Lip/overlap: holds, guides and accommodates tolerances
- Wall thickness: too thin = warped; rather 1 step more stable
Guidelines: Clearance & Tolerance
| application | Guideline | Note |
|---|---|---|
| Lid (lip / matching seat) | +0.3 - +0.8 mm | Bei PLA eher more, bei cleanem PETG oft less |
| Cap / End cap | +0.2 - +0.6 mm | For parts that slide on |
| Screw hole | +0.2 - +0.6 mm | Through hole |
Examples from the templates
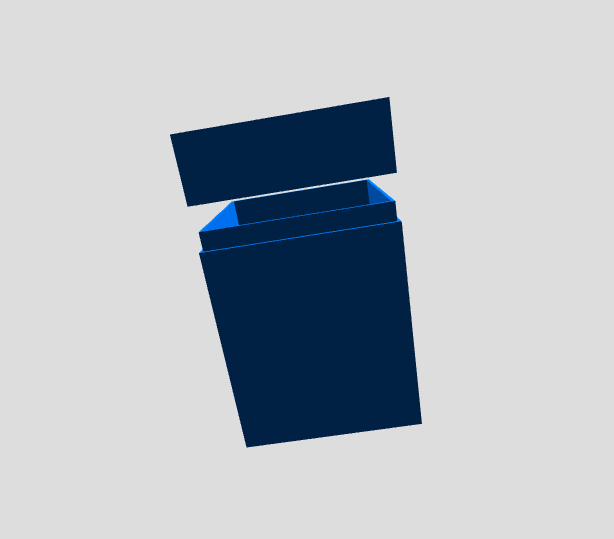
Box with lid (lip)
1) Box with lid and lip
The internal dimensions, lid height and rim clearance ensure that the lid does not jam.
🚀 Configure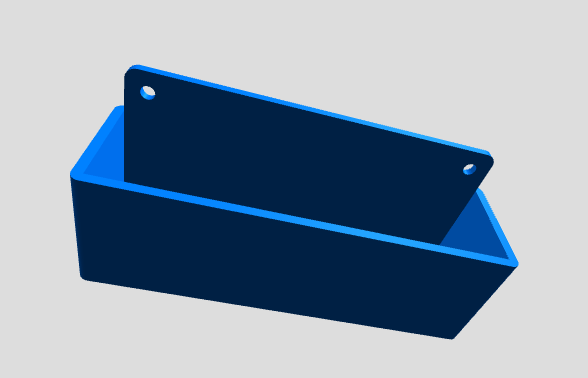
Wall-Box
2) Wall box (with flange)
For electronics: Inner dimension + air for cable/connector. Wall thickness = stability.
🚀 Configure
Cap
3) Round cap
Diameter, hole depth and protrusion: ideal for tubes, round profiles and openings.
🚀 Configure

Cap
5) Rectangular cap
Set width and height separately — ideal for rectangular profiles or slots.
🚀 ConfigureConclusion: fit depends on the parameters
If you plan the inside dimensions, clearance and wall thickness properly, the lid will fit without any reworking. Find the right template and get started straight away.