


Measure spare parts correctly: The 10-minute checklist (for a fit on the first print)
You want a spare part without CAD or customize - but the part should fit at first try? Then measuring is the decisive step. In this checklist, I'll show you which dimensions are really important and how to avoid typical mistakes and which tolerances you should plan for in 3D printing.
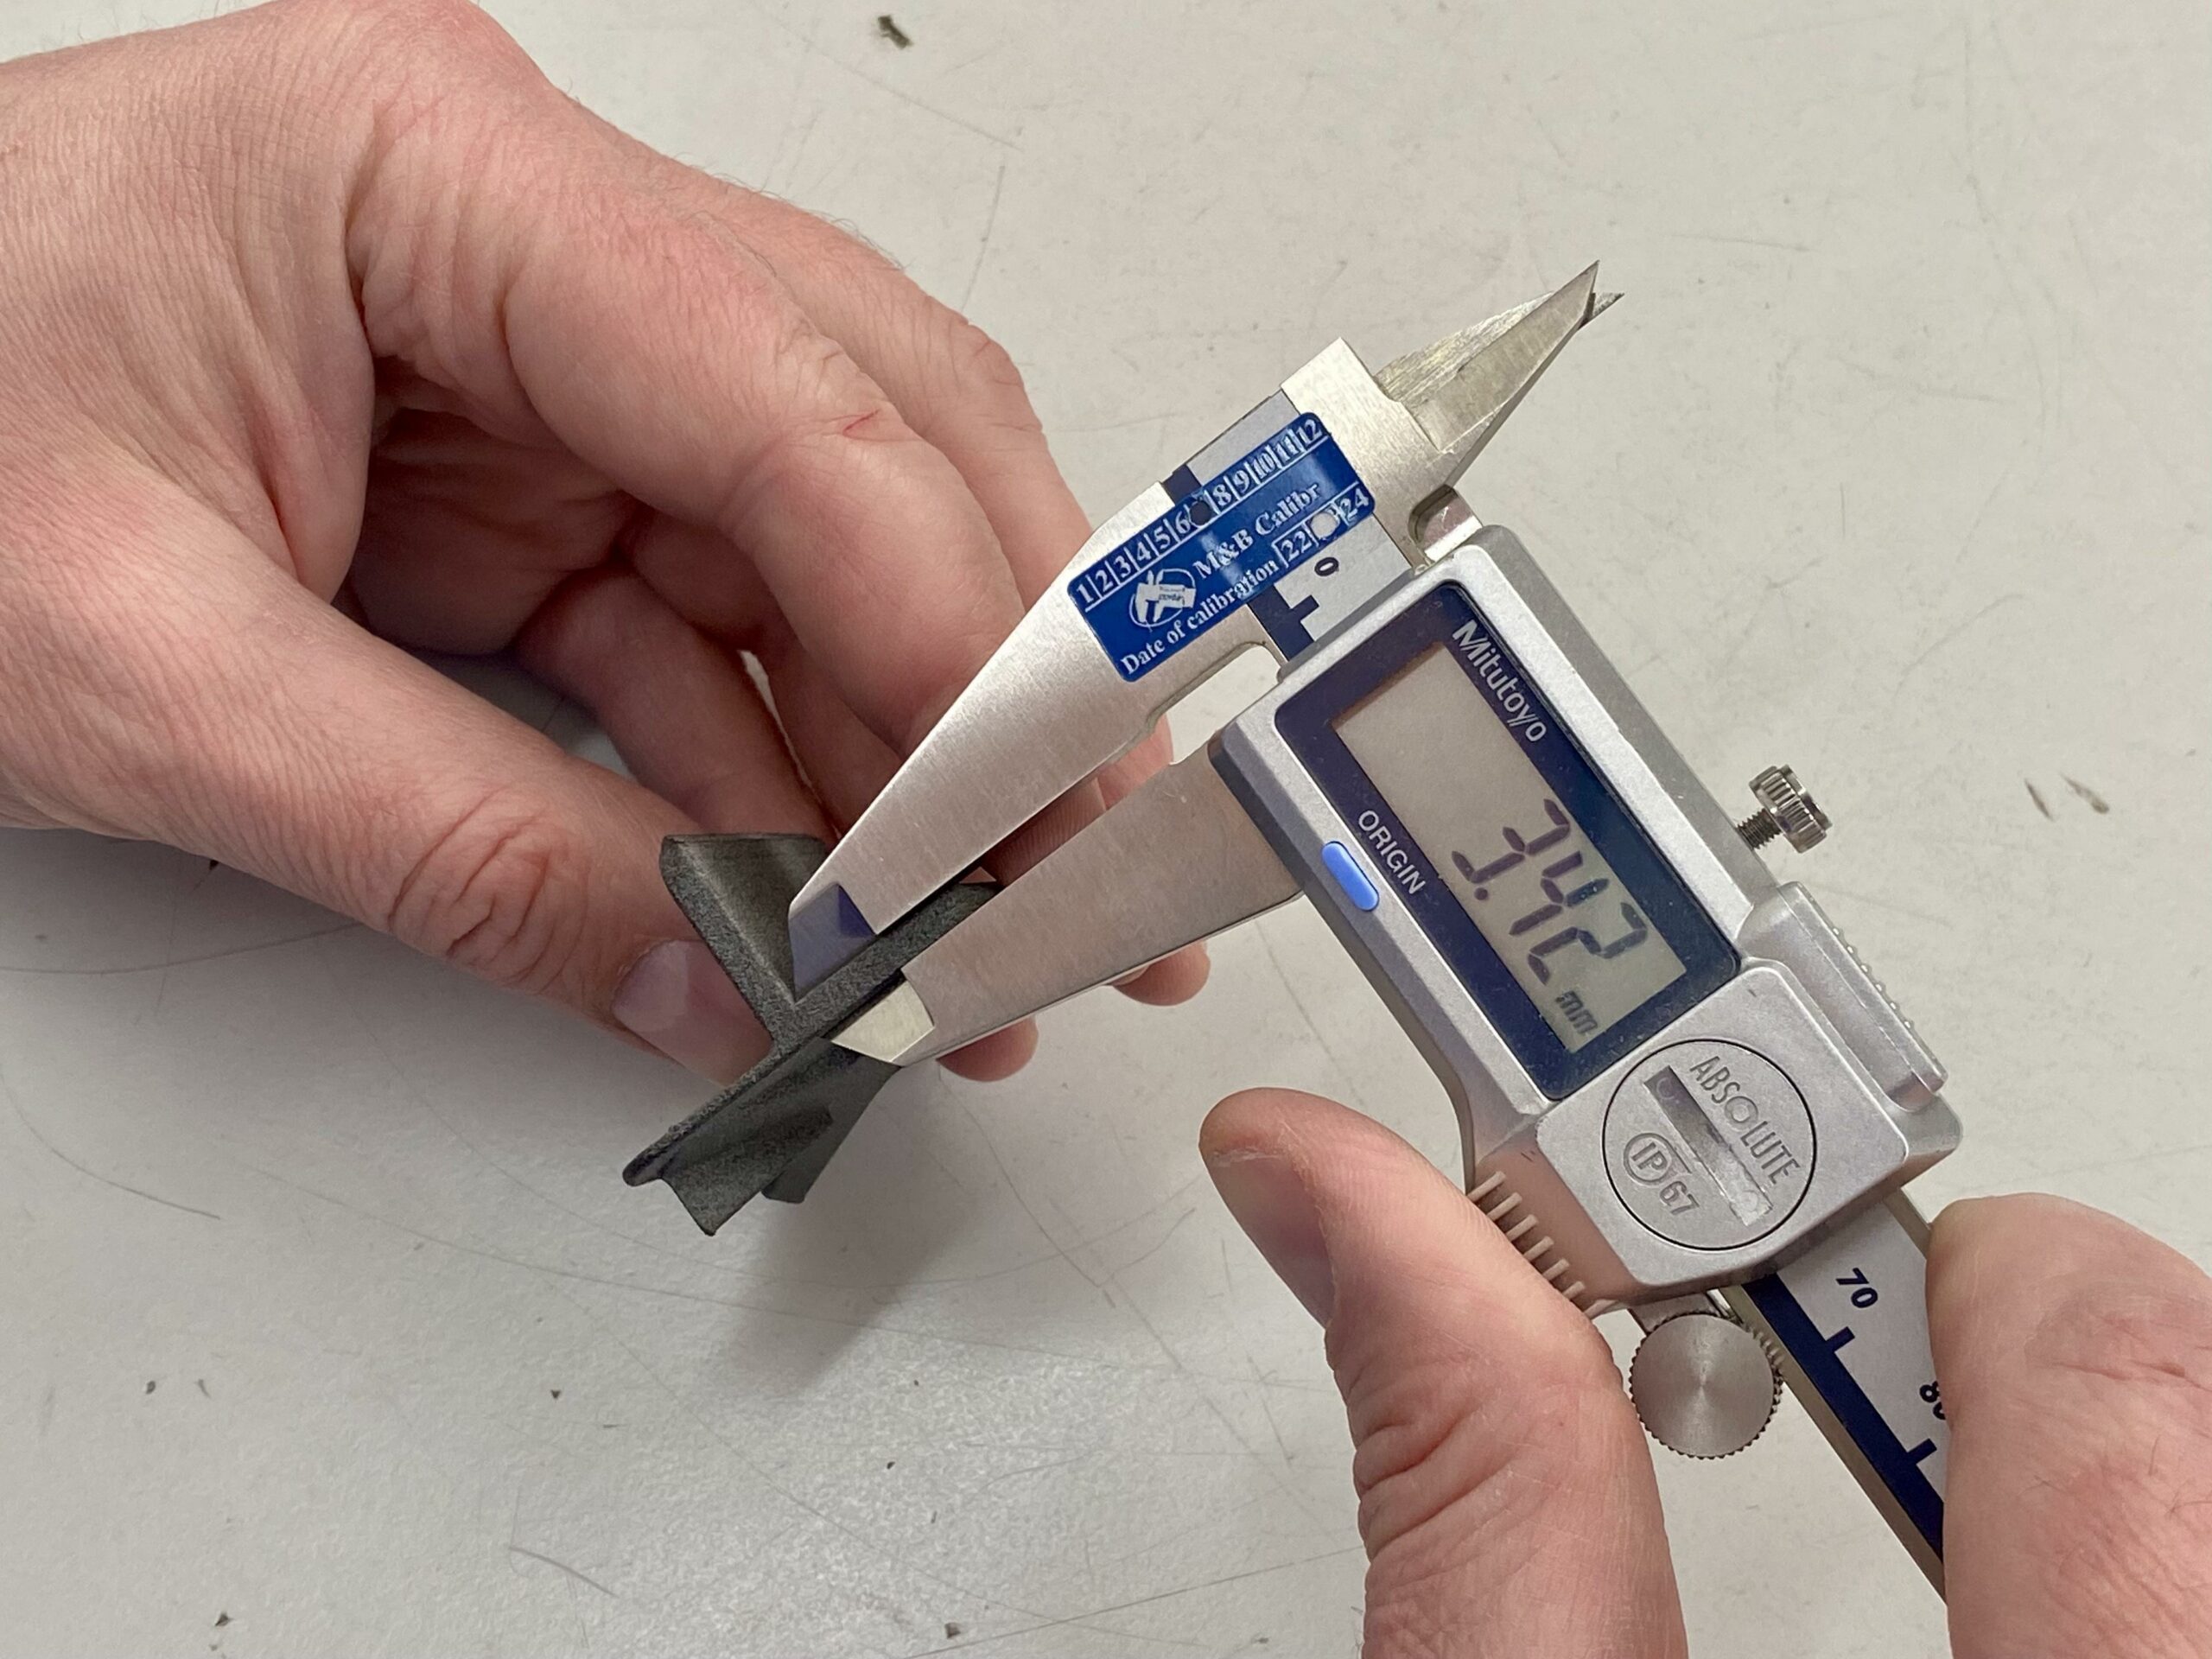
- 10-minute quick start (if you are in a hurry)
- Tools and preparation
- The measurement checklist: 6 values that are almost always enough
- Measure hole spacing correctly (center-to-center)
- tolerances & fits (Schraube/Steck/Klemm)
- The 7 most common measurement errors
- Next step: choose and configure a template
- FAQ
10-minute quick start (if you are in a hurry)
- Outer dimension (W/H/L) + Construction space measure
- Inner dimension/opening measure (if something needs to fit inside or over another part)
- hole-Ø measure (screw/bolt)
- Center-to-center hole spacing measure (crucial!)
- Wall thickness/material thickness determine
- Tolerance add (usually +0.2 to +0.6 mm)
After that: Open category →, select a suitable template, enter the parameters - done.
Tools and preparation
Ideal is a digital caliper. This allows you to measure external and internal dimensions and depths very quickly. Purely for understanding: Ruler/caliper also works - but the error rate increases.
- ✅ Caliper (0.1 mm is enough, 0.01 mm is luxury)
- ✅ Stift/Notiz or Handy-Notiz
- ✅ a square or stop if needed (for straight alignment)
Tip: If the original part is broken, measure - if possible - at the Counterpart (e.g. on the housing, on the bore, on the counterpart). This is often more reliable.
The measurement checklist: 6 values that are almost always sufficient
For many spare parts such as brackets, adapters, spacers, covers and mounting plates, these 6 values are sufficient. Measure twice if possible and note the numbers directly.
| Measured value | Why wichtig? | Praxis-Tip |
|---|---|---|
| Outer dimensions (W/H/L) | Does the part fit in the available space? | Always measure the narrowest area (not just "approximately"). |
| Inner dimension / opening | When the part needs to fit over or hold something. | Internal dimensions usually need extra clearance (see tolerances). |
| hole-diameter | The screw or pin must pass through or engage. | A through hole is usually larger than the screw (e.g. M4 → 4.2–4.6 mm). |
| Hole spacing (center to center) | To align precisely with existing holes. | Never measure edge-to-edge - always center-to-center. |
| Wall thickness / material thickness | Determines strength, screw retention and clamping force. | If under load: preferably 1-2 levels thicker. |
| Radii / Chamfers | Prevent collisions, facilitate assembly. | If unsure, use a small chamfer instead of a sharp edge. |
Measure the hole spacing correctly (center-to-center)
This is the most common reason why a part "almost" fits: the hole spacing is slightly off. Therefore measure Center-to-Center. Two simple methods:
- Directly: place the caliper tips in the hole centers (where possible).
- Trick: measure outer edge to outer edge, then hole-Ø deduct:
Center-to-center = outer-to-outer distance − hole diameter
Tip: If you get two measurements (e.g. 39.8 mm and 40.1 mm), take the average value or measure again with a firmer stop. If in doubt print a small test plate than "at random".
Tolerances & fits (screw / plug / clamp)
3D Printing is not a "zero game". Allow for tolerance to keep parts mountable. These guide values work as a starting point for many applications:
| application | Game (approximate value) | Example |
|---|---|---|
| Screw clearance hole | +0.2 to +0.6 mm | M4 → 4.2-4.6 mm |
| Push/Push fit | +0.3 to +0.8 mm | 10 mm spigot → holder 10.3-10.8 mm |
| Clamp/Clip | 0 to +0.3 mm | Needs to hold → less clearance |
If you notice after the first test: "too tight" → a little more play. "too loose" → reduce play or increase wall thickness. This will help you achieve a perfect fit quickly - without CAD.
The 7 most common measurement mistakes (and how to avoid them)
- holeabstand Kante-zu-Kante instead of center-to-center → always use center.
- Installation space not measured → Outer dimension may be "too big" even though the original fits.
- Innenmaß without Spiel → Internal fits often need more tolerance.
- Caliper set crooked → Ensure parallel alignment when measuring.
- Measured only once → Always measure twice and check plausibility.
- Wall thickness selected too thin → Rather thicker under load.
- material/Temperatur ignoriert → PLA may give way under heat; for functional parts PETG/ASA/Nylon.
Note: First measure, then tolerance, then configure. If you adhere to this, the hit rate for the first print will increase massively.
Next step: choose a template and configure without CAD
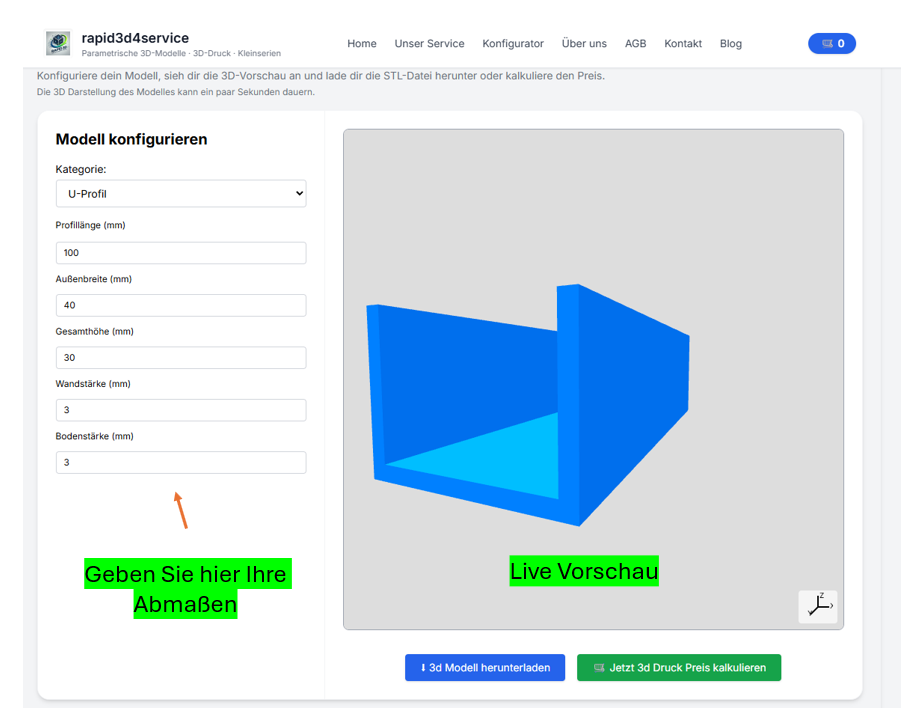
Once you have the dimensions, you're practically done: choose the right template from the categories, enter the values, check the preview and generate your STL. This is exactly what BuildYour3D is there for: Enter dimensions instead of learning CAD.
Also searched for:
Measure spare part Caliper, measure hole distance center center, tolerance 3D pressure, Fit 3D print screw, custom adapter, print bracket without CAD, STL without CAD.
FAQ
Is a ruler sufficient or do I need a caliper gauge?
A ruler is sufficient for rough prototypes. If it is fit (drill holes, plug-in fits), a caliper gauge is highly recommended - most problems are caused by inaccurate measurements.
How do I find the right model for my replacement part?
Start with the categories. Select the template that comes closest to the part (e.g. holder/adapter/spacer). Then adjust the dimensions accordingly.
My part has unusual shapes - what then?
Then send us a photo + 2-3 core dimensions via Contact. We can often add a suitable parametric template or recommend the right base.